Assembly of the casing

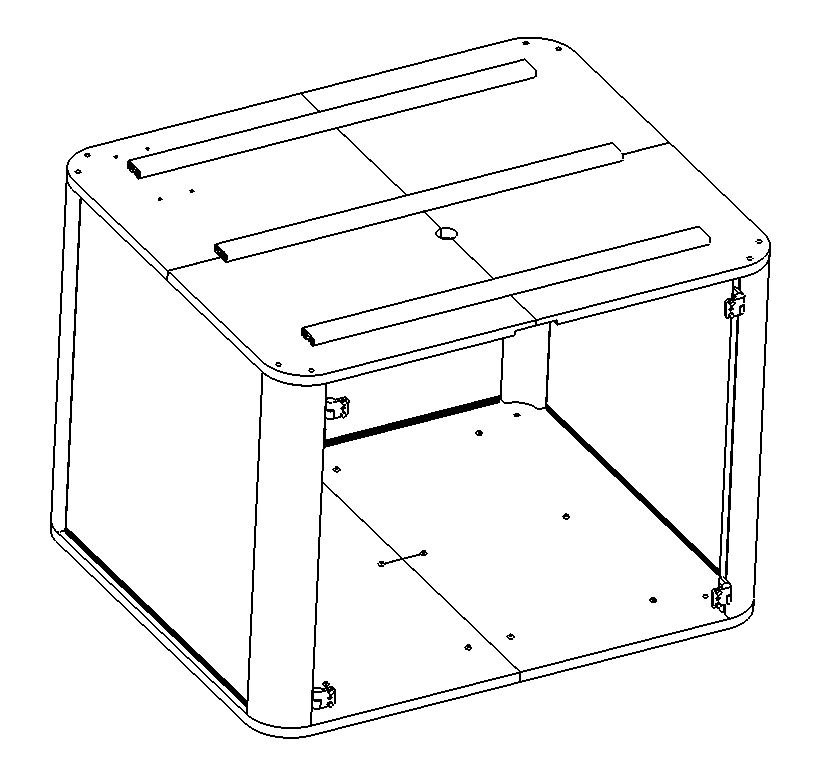
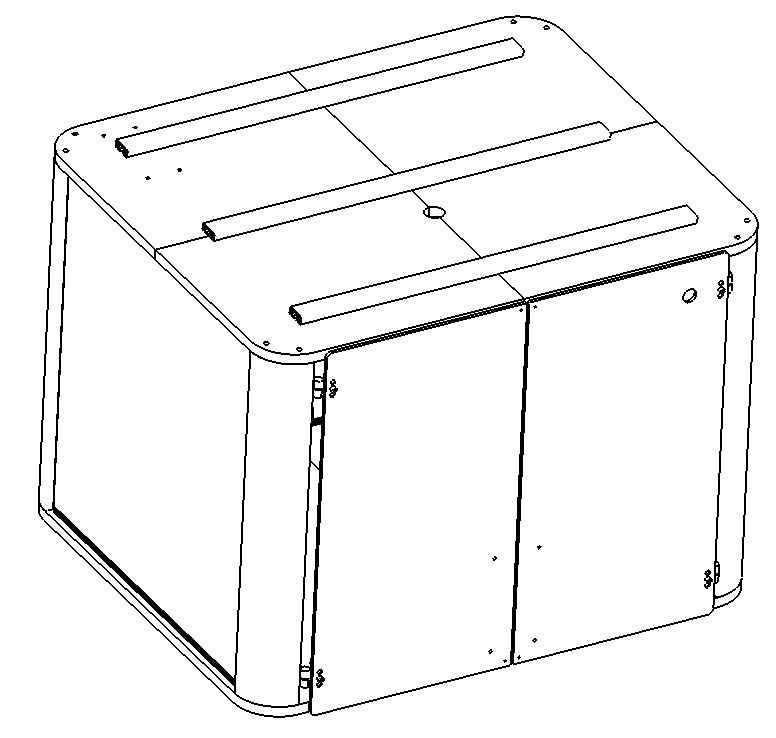
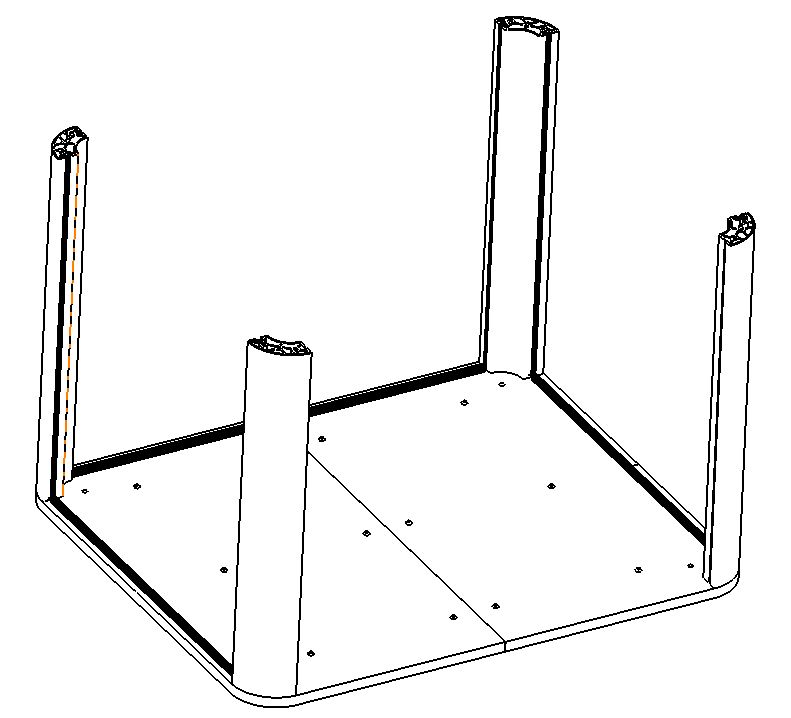
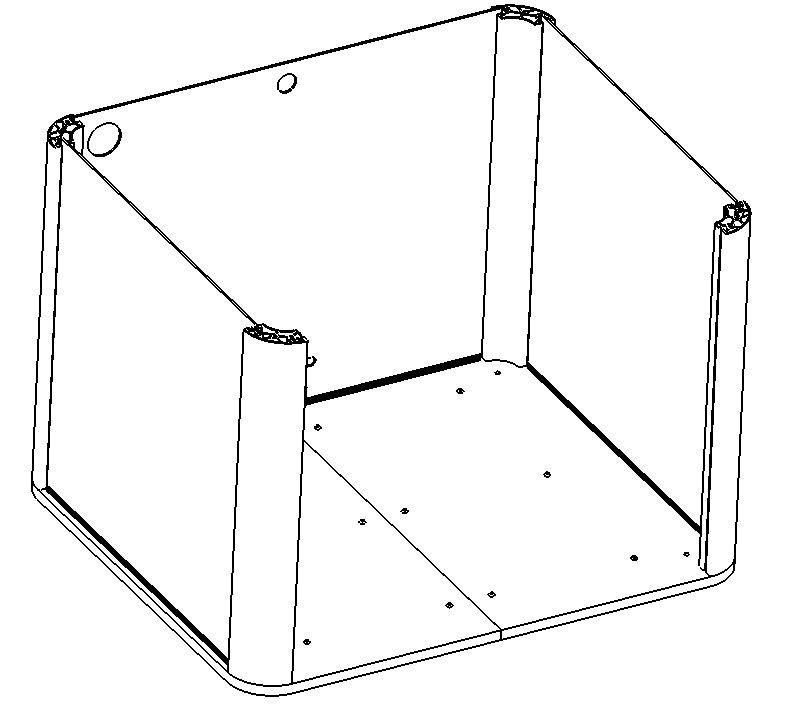
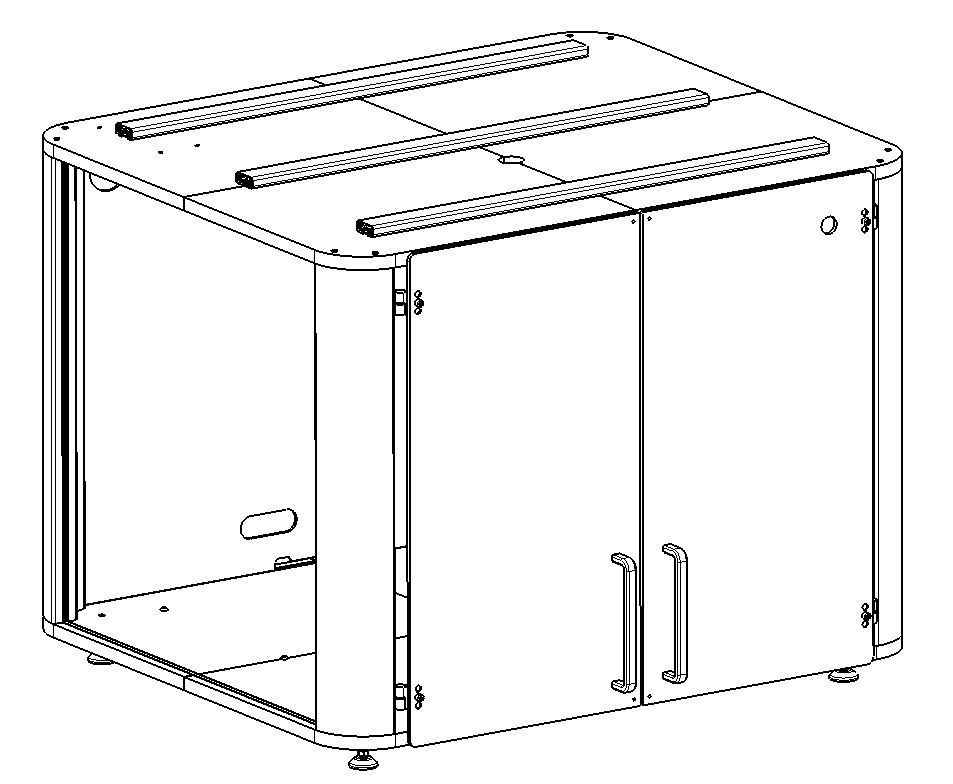
The following instructions guide you through the assembly of the casing.

MDF plate assembly

  • Align the two MDF plates as shown in the left picture.
  • Place 4 nut stones each into the aluminium profile so that they are aligned to the mounting holes
  • Screw the MDF plates with the M6x30 screws to the MDF plate
  • Continue the assembly with the second MDF plate
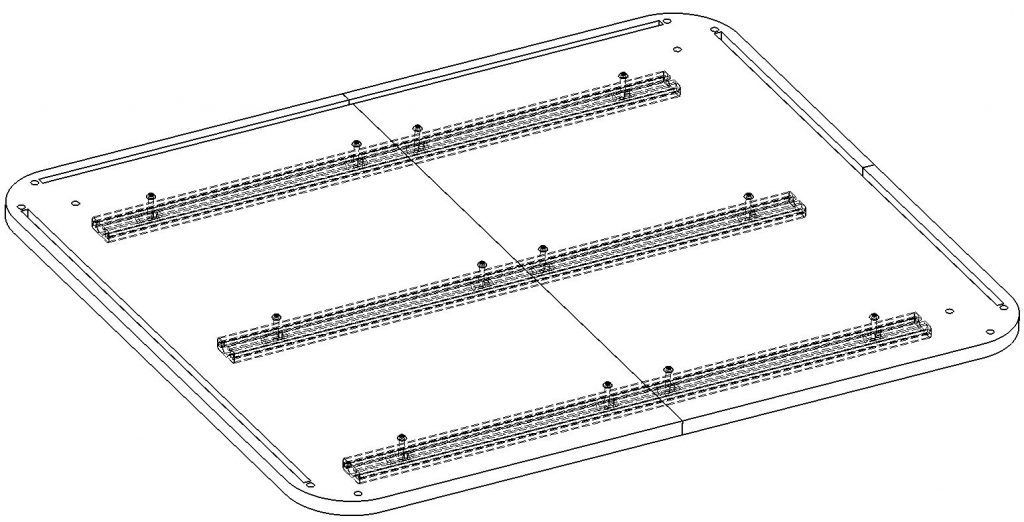
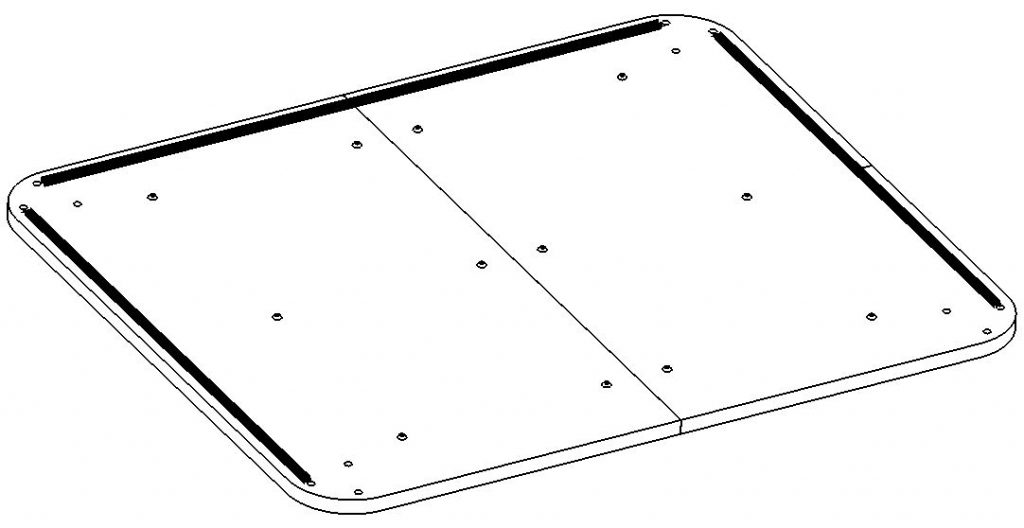
  • Hint: you can put a coating on the MDF plates. We recommend a coating with water based acrylic transparent paint

    Mounting the adjustable foot

  • Place the wood M8 nuts at the holes of the adjustable foots
  • Screw the 4 adjustable foots into the M8 nuts.

  • Window profile mounting

  • Mount the window profiles into the openings (black painted in the picture on the left)
  • The open side of the window profiles must stay open. The closed side is mounted to the bottom.

  • Aluminium profile mounting

  • Mount the 4 Aluminium profiles with the M8x30 screws
  • Align the Aluminium profiles with the contour of the MDF plates
  • Attention: please do not put any load on the Aluminium profiles until the casing is fully assembled!

    Window profiles mounting

  • Also mount the window profiles in the alumium profiles

  • Window and Backplate mounting

  • Remove the safety foil from the windows
  • Mount the side windows and the backplate into the window profiles

  • Hinges

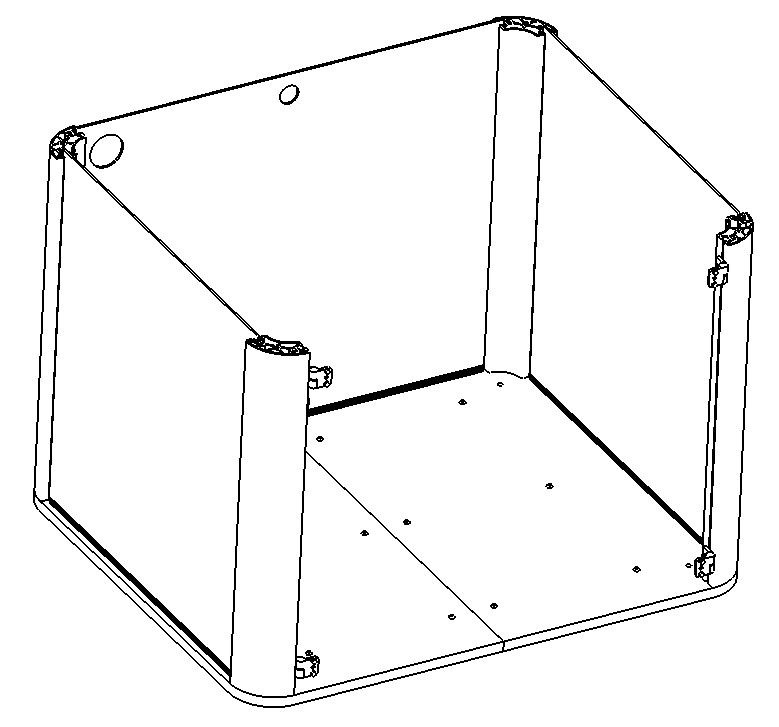
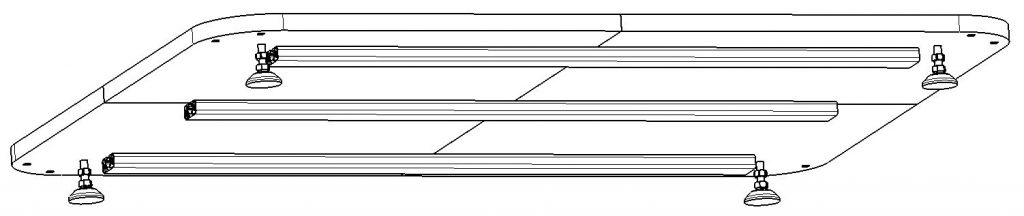
    Mount the hinges on the aluminium profiles. Take care to mount the hinges on the proper side – there are left and right hinges.

  • Place the 4 slot stones on the corresponding hinge position
  • Mount the hinges with the M6x10 screws onto the slot stones

  • Cover plate

  • Place the cover plate on the aluminium profiles
  • Place the side window and the backplate into the window profiles
  • Attach the cover plate with the M8x30 screws.
  • Door mounting

  • Mount the door with the M6x10 screws and the M6 nuts onto the hinges. Do not overtighten the screws as there is plastic in between – we recommend locking the nut with a medium thread locker instead
  • Place the door with the emergency stop on the right side – there is a cutout for the emergency stop in one of the door panels. The recommended mounting position is on the right side – however you can change the layout if you want.
  • If the hinges fall apart during assembly – they are mounted on the wrong side (they work only on one side)
  • Door handle

  • Mount the door handle with the M5x16 screws and plastic distance holders inbetween.
  • Do not overtighten the screws.
  • Next

    Press “Next” to get to the next step